A few months ago, I did a general XBMC setup guide and covering the basics like installing plugings, repositories and setting up shortcuts. You can check it out here…
Today however, I will be showing you how to set up XBMC on your Raspberry Pi.
What You will Need
- Raspberry Pi Model B
- 2GB or greater SD Card (Preferably a class 10 and 8 GB)
- Ethernet Cable
- Micro USB Power Supply or Micro USB Cable (To power from the TV)
- HDMI Cable
- XBMC Installer
- USB Mouse and Keyboard (Just for setup as its easier)
- XBMC Compatible Controller (or a CEC compatible TV remote)
I would highly recommend a class 10 SD card for improved performance. You can also install XBMC on USB stick (you will still need a SD Card to boot from) which offers even more performance gains but from my experience, this is unstable and the installation can be easily corrupted.
Also check to see if your TV is CEC compatible. This lets you use your TV remote to control you Raspberry Pi via the HDMI cable which is great is it mean no extra controllers lying around!
Which XBMC Version?
 I would highly recommend XBian and here’s why.
XBMC comes in 3 main flavors for the Raspberry Pi. OSmc, Openelec and XBian. Each distro has its own merits but for the month I’ve been using my Pi as a media center, XBian is by far the most stable of the 3.
Because I have chosen to power my Raspberry Pi via a spare USB port from my TV, I rarely “power down” XBMC correctly. I just turned my TV on and off as you do. This was constantly corrupting both the Raspbmc and Openlec installs. And I mean constantly! I was at the point where I was about to give up on the whole XBMC/Reaspberty Pi combination as a usable media center.
In fact, I have only ever installed XBian once. XBian just works and don’t seem to break anywhere near as easily as the other two distros.
Installing XBian
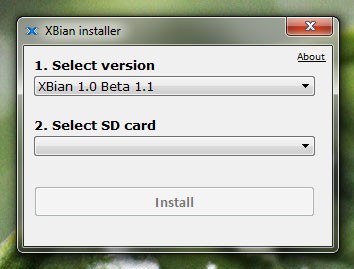
Installing XBian is very easy. The clever people over at XBian.org have created installers for Windows, Mac and Linux so download the appropriate one for your system.
Once downloaded, run the program and flash the SD card with the XBain 1.0 Beta 1.1
Connecting Everything Up
Now that you have your flashed SD card, insert it into your Raspberry Pi, connect the HDMI, Ethernet cable, mouse and keyboard.
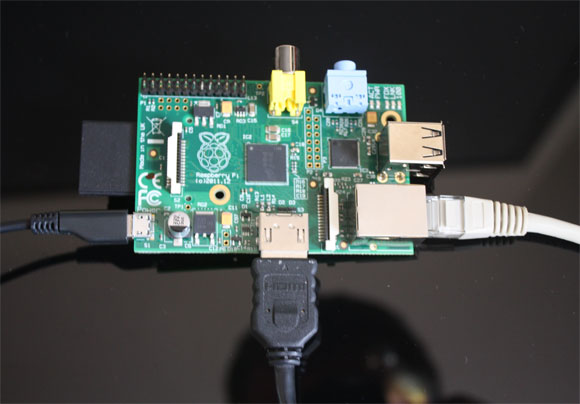
Make sure you have selected the correct HDMI input on your TV and power on the Pi. This can be done using either a micro USB power adapter or micro USB power cable from your TV. Now just follow the the onscreen instruction.
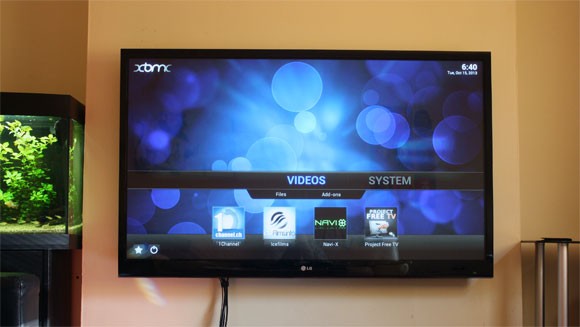
Once compleated, XBain will boot into the default XBMC home screen. To setup some of the main features of XBMC or see how to install the plugins I use, check out my XBMC setup guide here.
Rounding Up
I have used XBian with my Pi for over a month now and have found it great! It’s been stable and generally responsive. This can only improve with further updates in the coming months.
Tip: Once you have your perfect setup and XBMC is running the way you like it, backup your SD card using Win32 Disk Imager just in case. Its much easier flash your custom images than re installing all the plugins, repositories and tweaks.
Any questions? Disagree with me? Please let me know in the comments bellow.
