 Spybot Search & Destroy is one of the best free spyware removal tools available at the moment, but the program doesn’t have the most obvious user interface so I am going to walk you through the steps needed to protect your PC.
The thing I most like about the program is the “immunise” function. This continually updated list blocks any know malware before it can gain access to your PC.
The program also has real time protection in the form of the “Resident TeaTimer” which informs you when different processes try to start and also let’s know when something wants to change some critical registry keys giving you the option to either “allow” or “deny” the change.
Here’s my quick install and user guide. Running the program this way has (touch wood) kept all my PCs running smoothly for years!
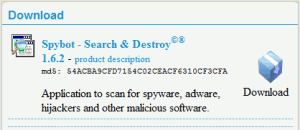
- First things first, Download Spybot S&D and follow the on screen installation instructions.
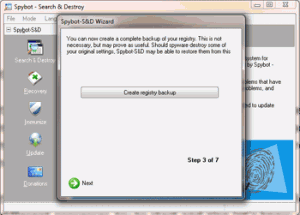
- The first time you run the program, the setup wizard starts. I just keep clicking the next arrow until step 7 and click “start using program”.
- Now that you have successfully installed the software, the first thing you need to update it with the latest detection and immunization databases. Do this by clicking the “Search for Updates” and follow the onscreen instructions. Once the updates have finished, close the update window and go back to the main program.
- If you are already experiencing signs of spyware infection (popup ads, changing homepage, slow internet connection etc), you must perform a system scan and if prompted, do a boot scan. Doing a boot scan means the program can remove any spyware before they get a chance to load through the “backdoor” as you PC boots up. This also allow the program to also remove any spyware that the standard scan could not.
It is also worth mentioning that if you have several accounts (users) on your PC, you should login to each one and scan them as well.
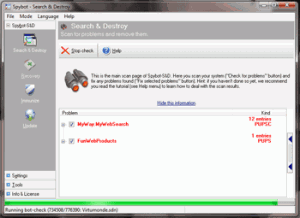
Remember to press the “fix selected problems” button if anything is found!! Don’t just assume that just because the program has found problems, it has cleared your PC!

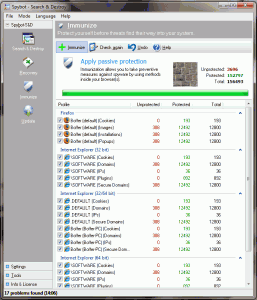
- Now the program has scanned and cleaned you PC, its time to immunize it. This should keep your PC spyware free by blocking any malware before it gets on to your system in the first place. The immunize function, like the update function is not automatic and will require you to manually update it weekly (well that’s what seems to works for me anyway).
Below, you can see the immunize screenshot. Close all browsers you might have open and click the green cross immunize button at the top. All the numbers in the red “unprotected” column will move to the green “protected” column.
That’s it. I run Spybot in conjunction with AVG free anti-virus on several PCs and touch wood, have not had any problems for several years with any spyware or viruses.